> ## Documentation Index
> Fetch the complete documentation index at: https://docs.upstackdata.com/llms.txt
> Use this file to discover all available pages before exploring further.
# How to Create a New Pinterest Pixel (Tag) ID
> Create a new Pinterest Pixel (Tag) ID in Pinterest Ads Manager — required to configure the Upstack Data Pinterest destination and forward conversions via Pinterest CAPI.
**Quick Summary**
* Sign in to [Pinterest Business](https://business.pinterest.com) and open **Manage business → Conversions**
* Under **Pinterest tag**, click **Tag manager**
* Start the tag setup and follow the instructions for your chosen installation method
* **Copy** your new **Pinterest Pixel Tag ID**
* Install the tag on your website and verify it is firing
## What is a Pinterest Pixel Tag ID?
A **Pinterest Pixel Tag ID** is a unique identifier assigned to your Pinterest Pixel, which tracks user actions (like page views, add-to-cart, or purchases) on your website. It's what you use to connect your site activity with Pinterest Ads for measurement and optimization. The ID is a 13-digit number (for example, `2613000000000`).
## Prerequisites
Before you start, you need:
* Admin access to your Pinterest Business account
* The ability to install code on your website (or admin access to a supported integration partner such as Shopify or WooCommerce)
## Steps to Create a New Pixel Tag ID
Sign in to [Pinterest Business](https://business.pinterest.com).
In the top-left of the page, click the **Menu icon** (three horizontal lines).
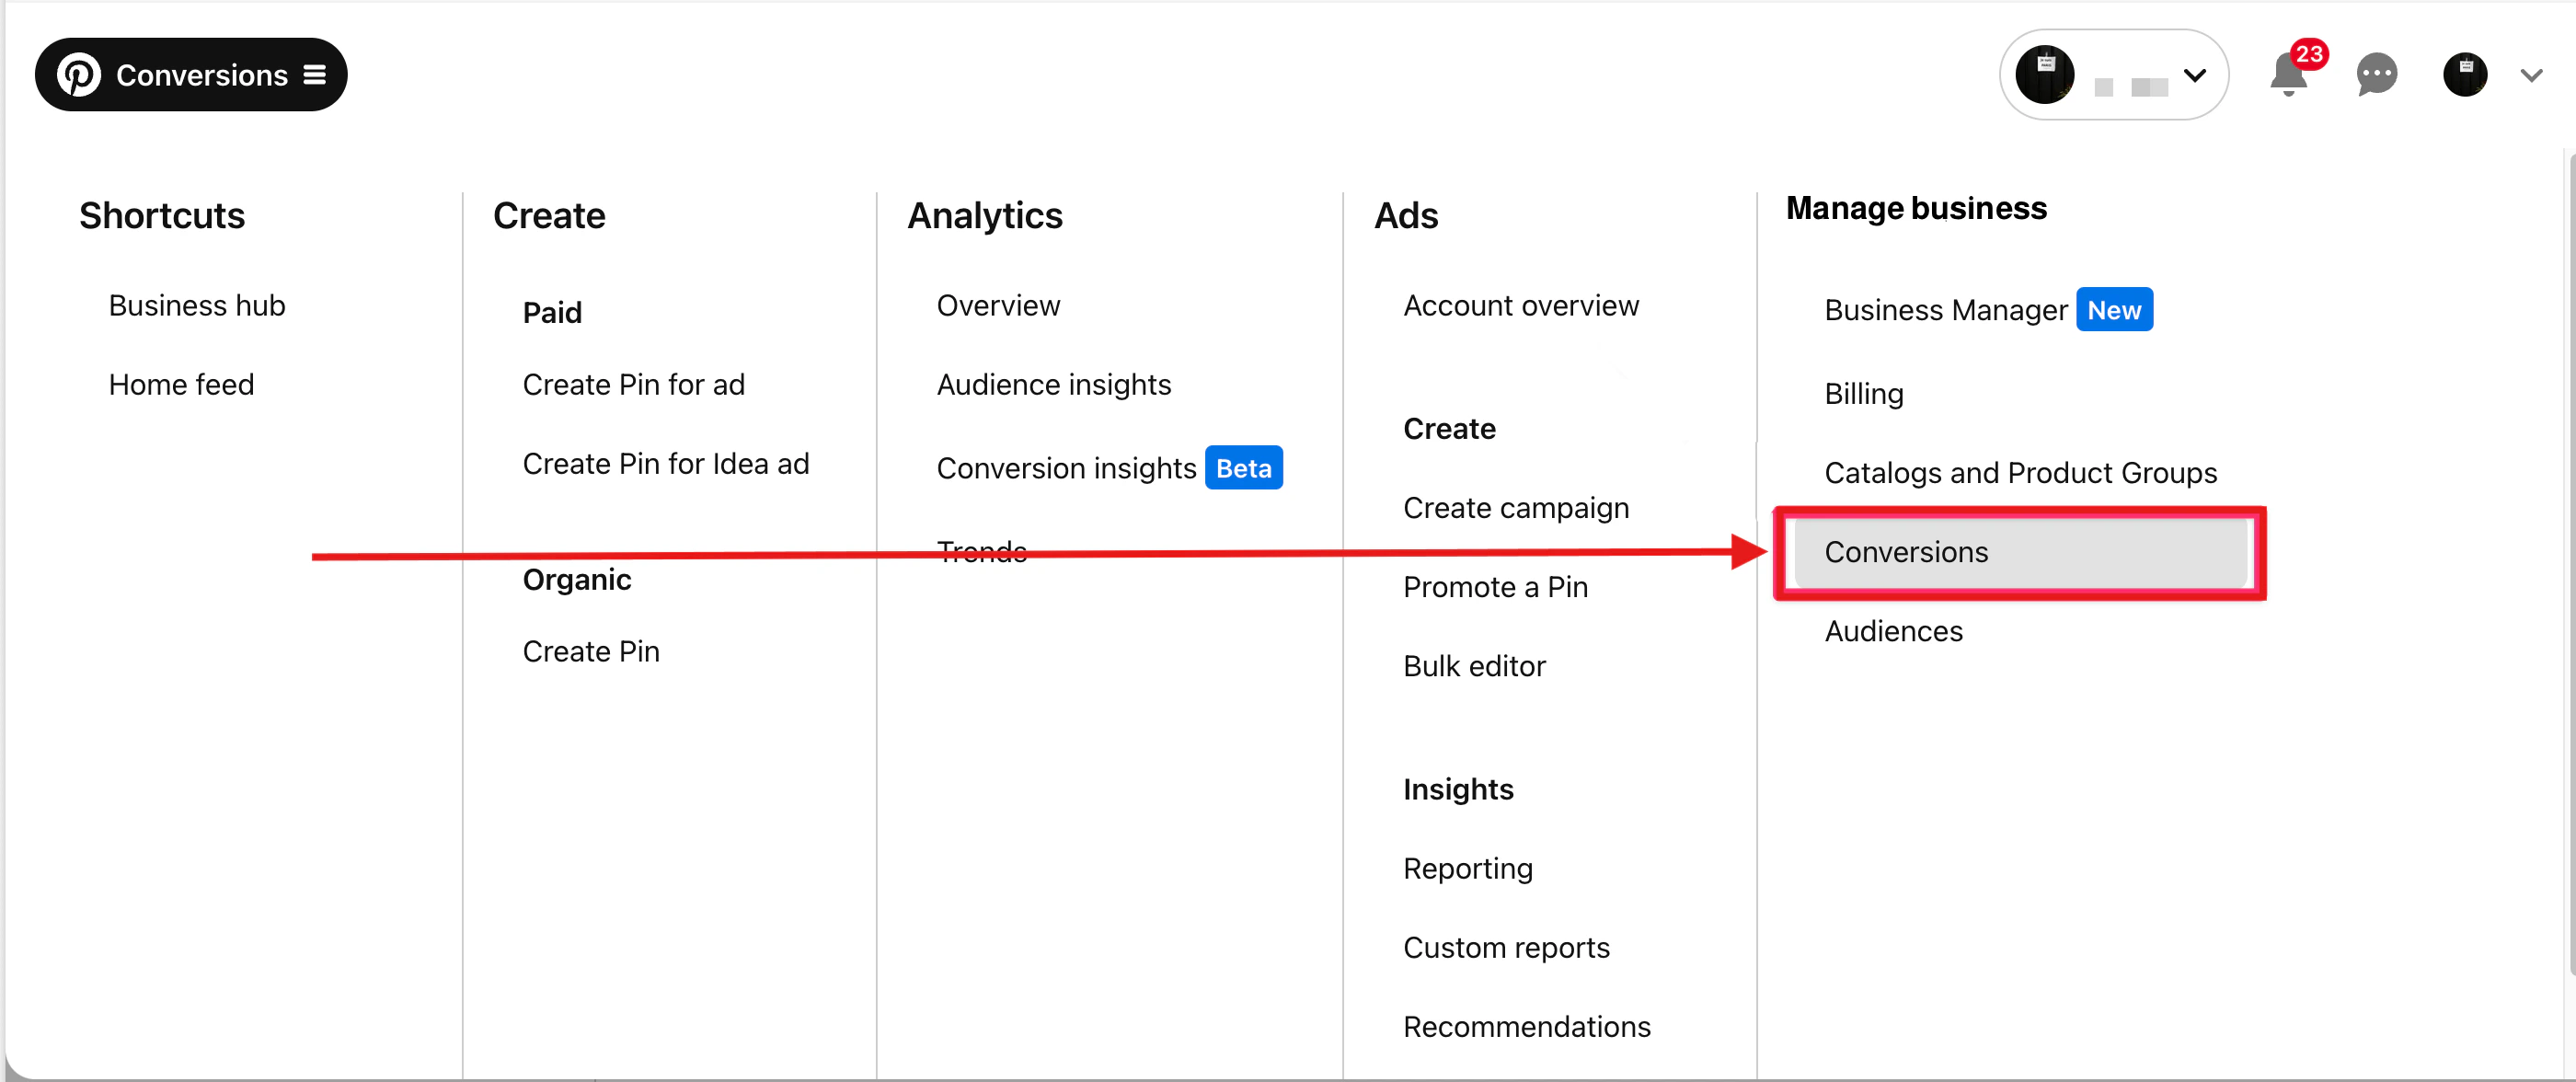
Under **Manage business**, select **Conversions**.
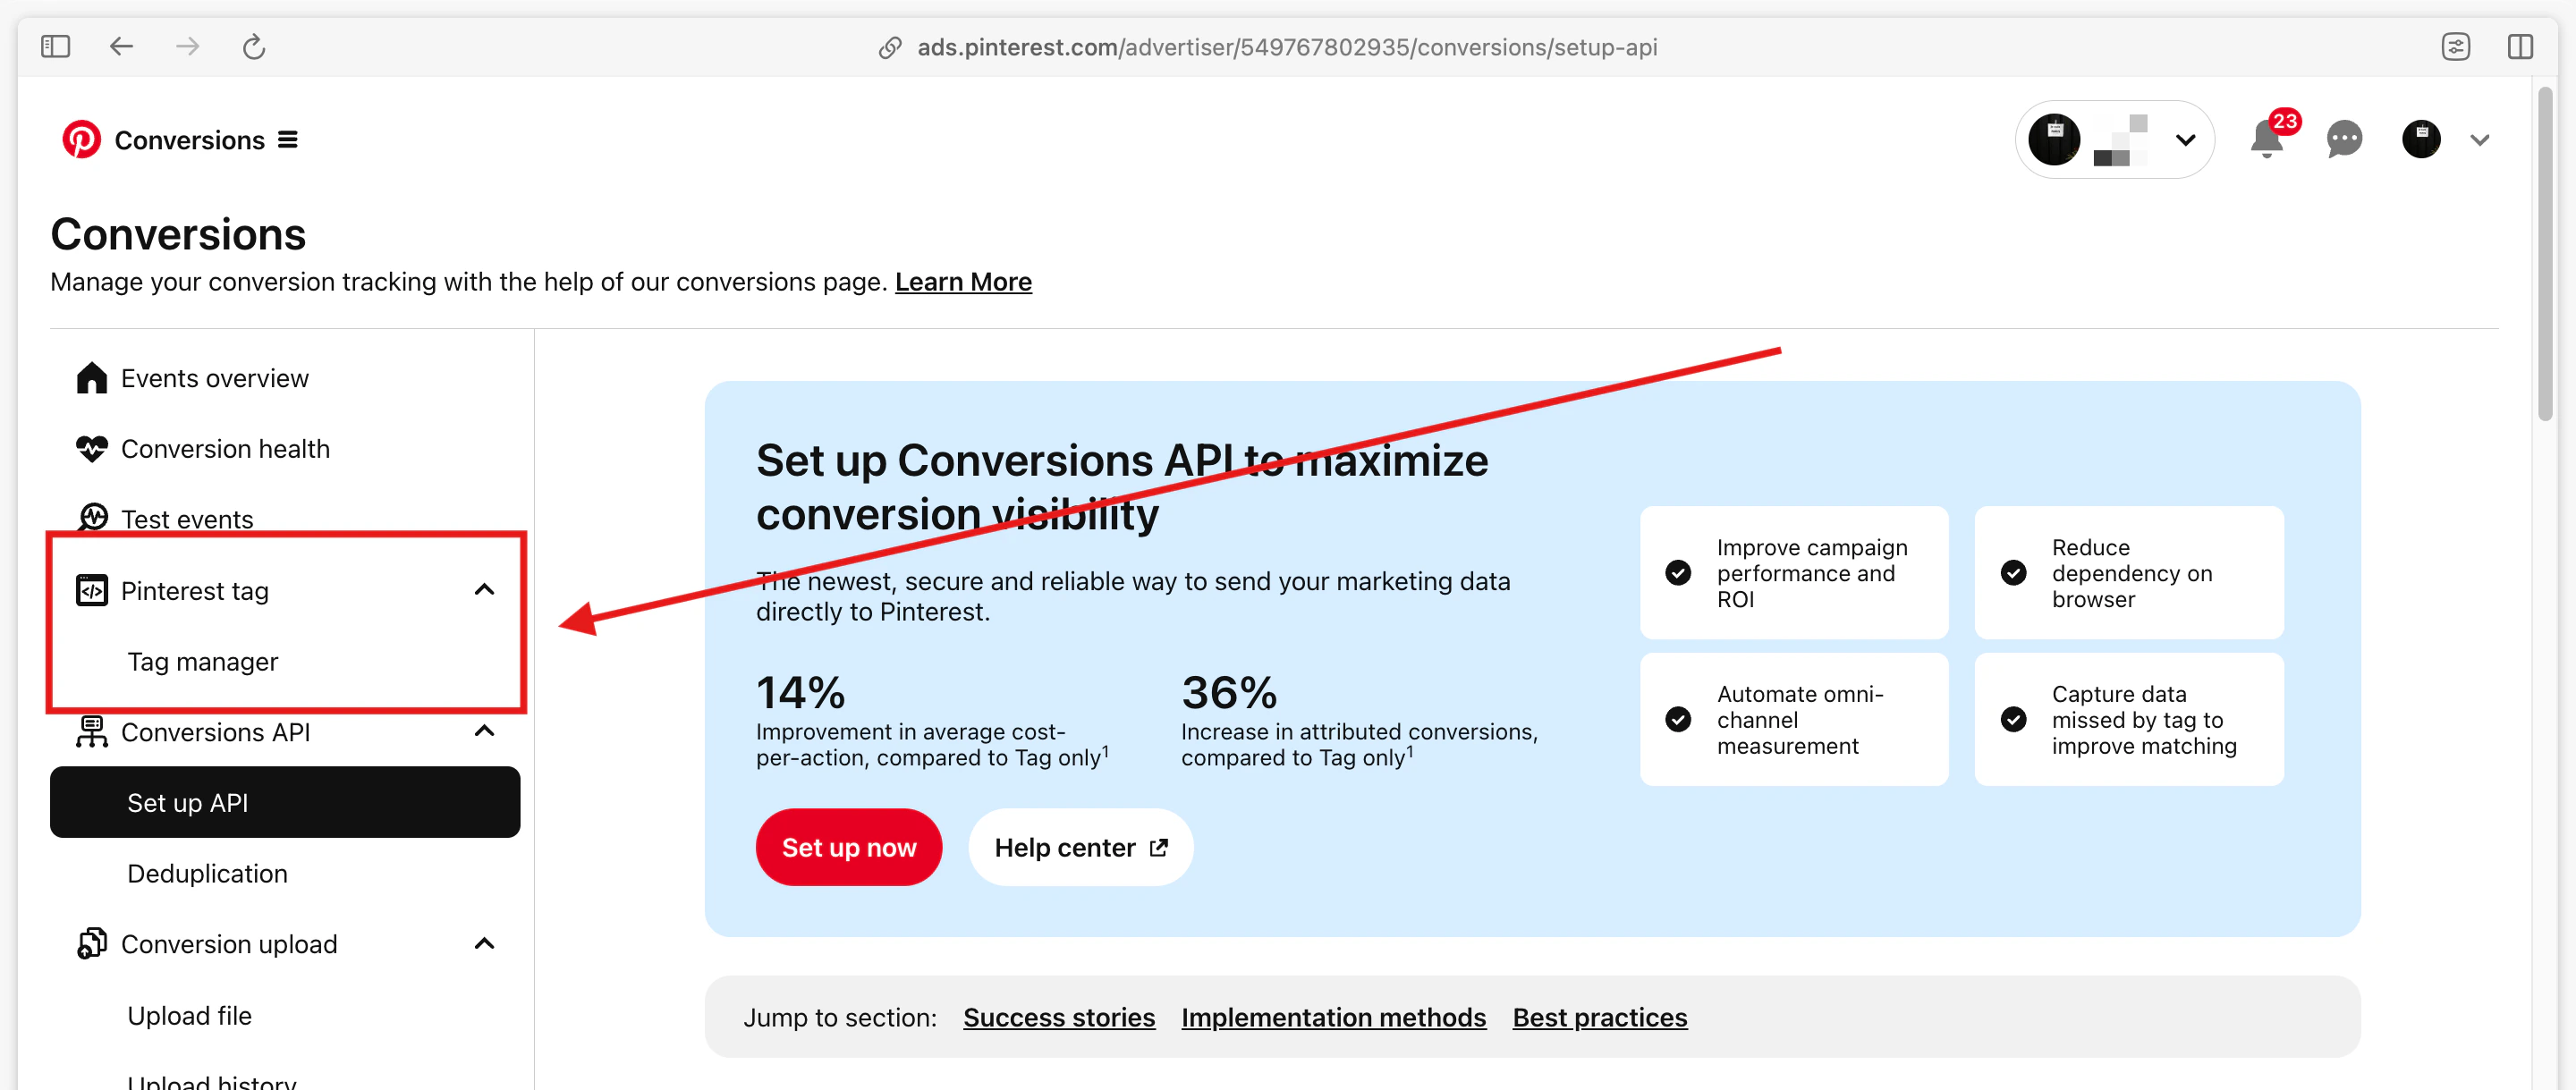
 Under **Pinterest tag**, click **Tag manager**.
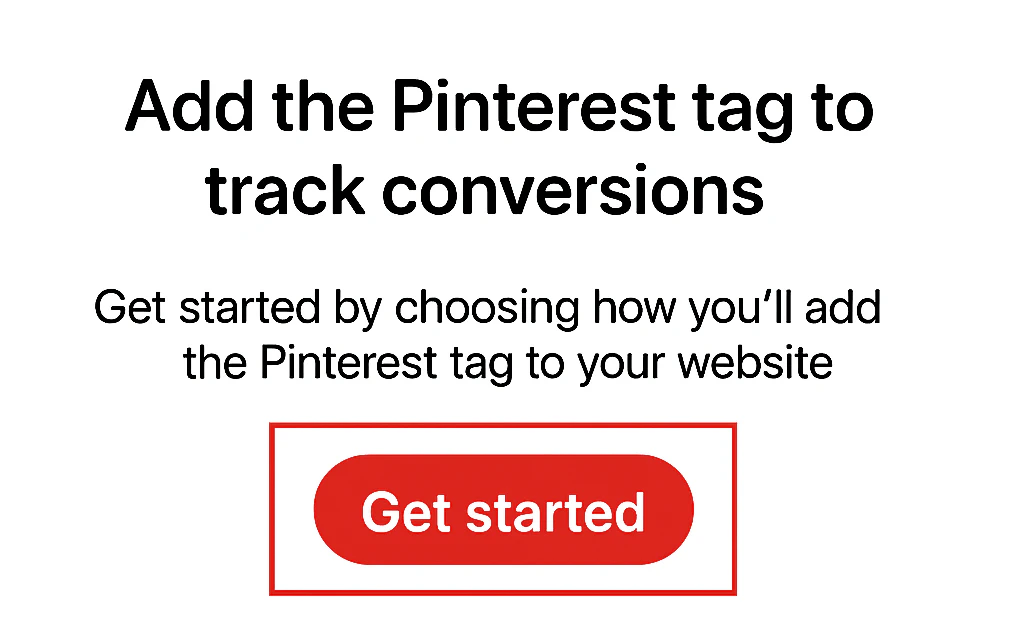
 In the **Pinterest Tag** section, click **Get Started** if this is your first tag, or click **Add code** to create an additional tag.
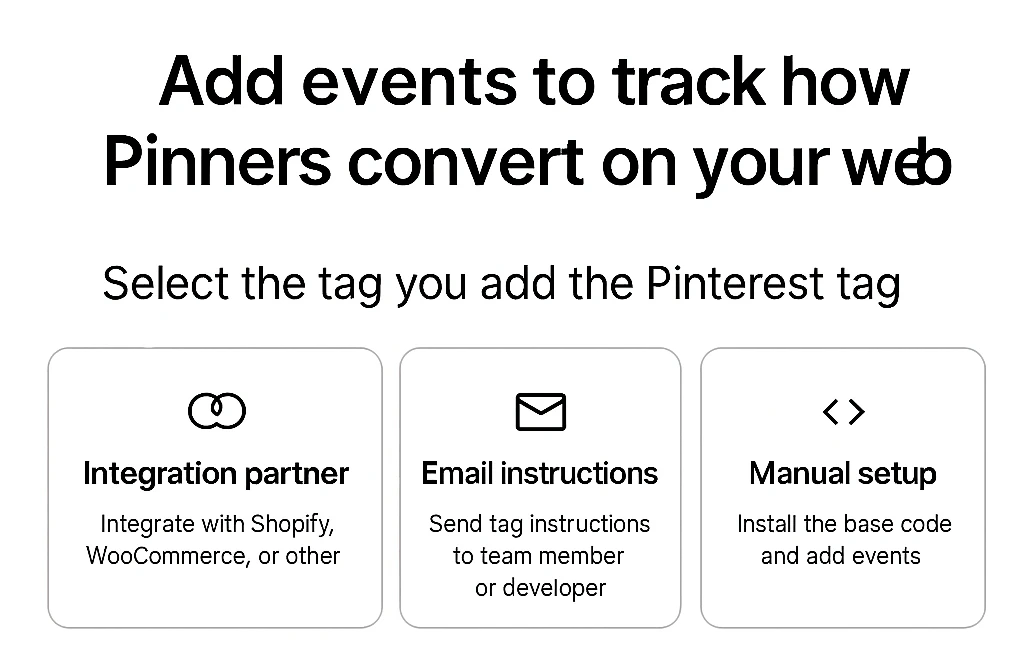
 You will be prompted to choose your installation method:
* **Integration partner** (for example, Shopify, WooCommerce)
* **Email instructions** to a developer
* **Manual setup** (for direct code installation)
Follow the setup instructions for your chosen method.
You will be prompted to choose your installation method:
* **Integration partner** (for example, Shopify, WooCommerce)
* **Email instructions** to a developer
* **Manual setup** (for direct code installation)
Follow the setup instructions for your chosen method.
 **Choose Manual Setup (if applicable)**
* Click **Skip** in the bottom-right of the page to proceed with manual setup.
* Pinterest will generate a **base tag code snippet** for you.
Once created, your Pinterest tag will appear in **Tag manager** with a 13-digit Pixel Tag ID (for example, `2613000000000`).
Copy the Pixel Tag ID — this is what you'll enter when configuring the Pinterest destination in your Upstack dashboard.
Paste the base tag code into the `` section of every page on your website.
Add **event codes** to track specific actions (for example, `AddToCart`, `Signup`, `Checkout`).
Use the [Pinterest Tag Helper Chrome Extension](https://chrome.google.com/webstore/detail/pinterest-tag-helper) to confirm your tag is firing correctly on your website.
You can also confirm event delivery in **Pinterest Business → Conversions → Pinterest tag**, where new events typically appear within a few minutes.
**Choose Manual Setup (if applicable)**
* Click **Skip** in the bottom-right of the page to proceed with manual setup.
* Pinterest will generate a **base tag code snippet** for you.
Once created, your Pinterest tag will appear in **Tag manager** with a 13-digit Pixel Tag ID (for example, `2613000000000`).
Copy the Pixel Tag ID — this is what you'll enter when configuring the Pinterest destination in your Upstack dashboard.
Paste the base tag code into the `` section of every page on your website.
Add **event codes** to track specific actions (for example, `AddToCart`, `Signup`, `Checkout`).
Use the [Pinterest Tag Helper Chrome Extension](https://chrome.google.com/webstore/detail/pinterest-tag-helper) to confirm your tag is firing correctly on your website.
You can also confirm event delivery in **Pinterest Business → Conversions → Pinterest tag**, where new events typically appear within a few minutes.