New to Upstack? Follow the getting started guide for a streamlined onboarding walkthrough.
Prerequisites
Before you start, you need:- An active Upstack Data account (sign up)
- Admin access to a Meta Business Manager account
- A configured Meta Pixel in Meta Events Manager
- A CAPI token generated from that pixel — see How to generate your CAPI token
- Shopify owner/staff access (for the duplicate-events cleanup step)
Configure the Meta destination in Upstack Data
In the Upstack dashboard, navigate to Event Destinations and add a Facebook Advertising destination using your Pixel ID (15–16 digit number, no prefix) and CAPI token (starts with
EAA).Help guide:How to configure the Meta Pixel destination in Upstack Data →Disable Facebook & Instagram data sharing in Shopify
Help guide:How to disable Facebook and Instagram data sharing in Shopify →Additional pixels to check and disable:
- Native Shopify Facebook & Instagram sales channel pixel
- Third-party Facebook pixel apps in Shopify
- Manual pixel code in your theme files (
theme.liquid, header snippets) - Facebook pixel tags inside Google Tag Manager
Set up new-customer purchase metrics in Meta Ads Manager
Key metrics you’ll configure:
- NC-ROAS (New Customer Return on Ad Spend) — revenue from new customers only
- NC-CPA (New Customer Cost Per Acquisition) — cost to acquire each new customer
Verify the full setup is healthy
Confirm each piece of the setup is working:
- In the Upstack dashboard, Event Destinations shows your Meta destination as Healthy (green).
- In Meta Events Manager, the pixel shows recent events with the Server connection label.
- In Meta Ads Manager, the NC Purchase custom conversion is visible and the NC-ROAS custom metric appears in your column layout.
What to expect after setup
Event Match Quality timeline
- Event Match Quality (EMQ) scores start to improve in 2–3 days and normalize over 7–10 days.
- You can typically expect a 1–2 point increase on lower-funnel events (PageView, ViewContent, AddToCart).
- The Purchase EMQ score will remain largely unchanged — at checkout, all match parameters (email, name, address) are already being sent to Meta.
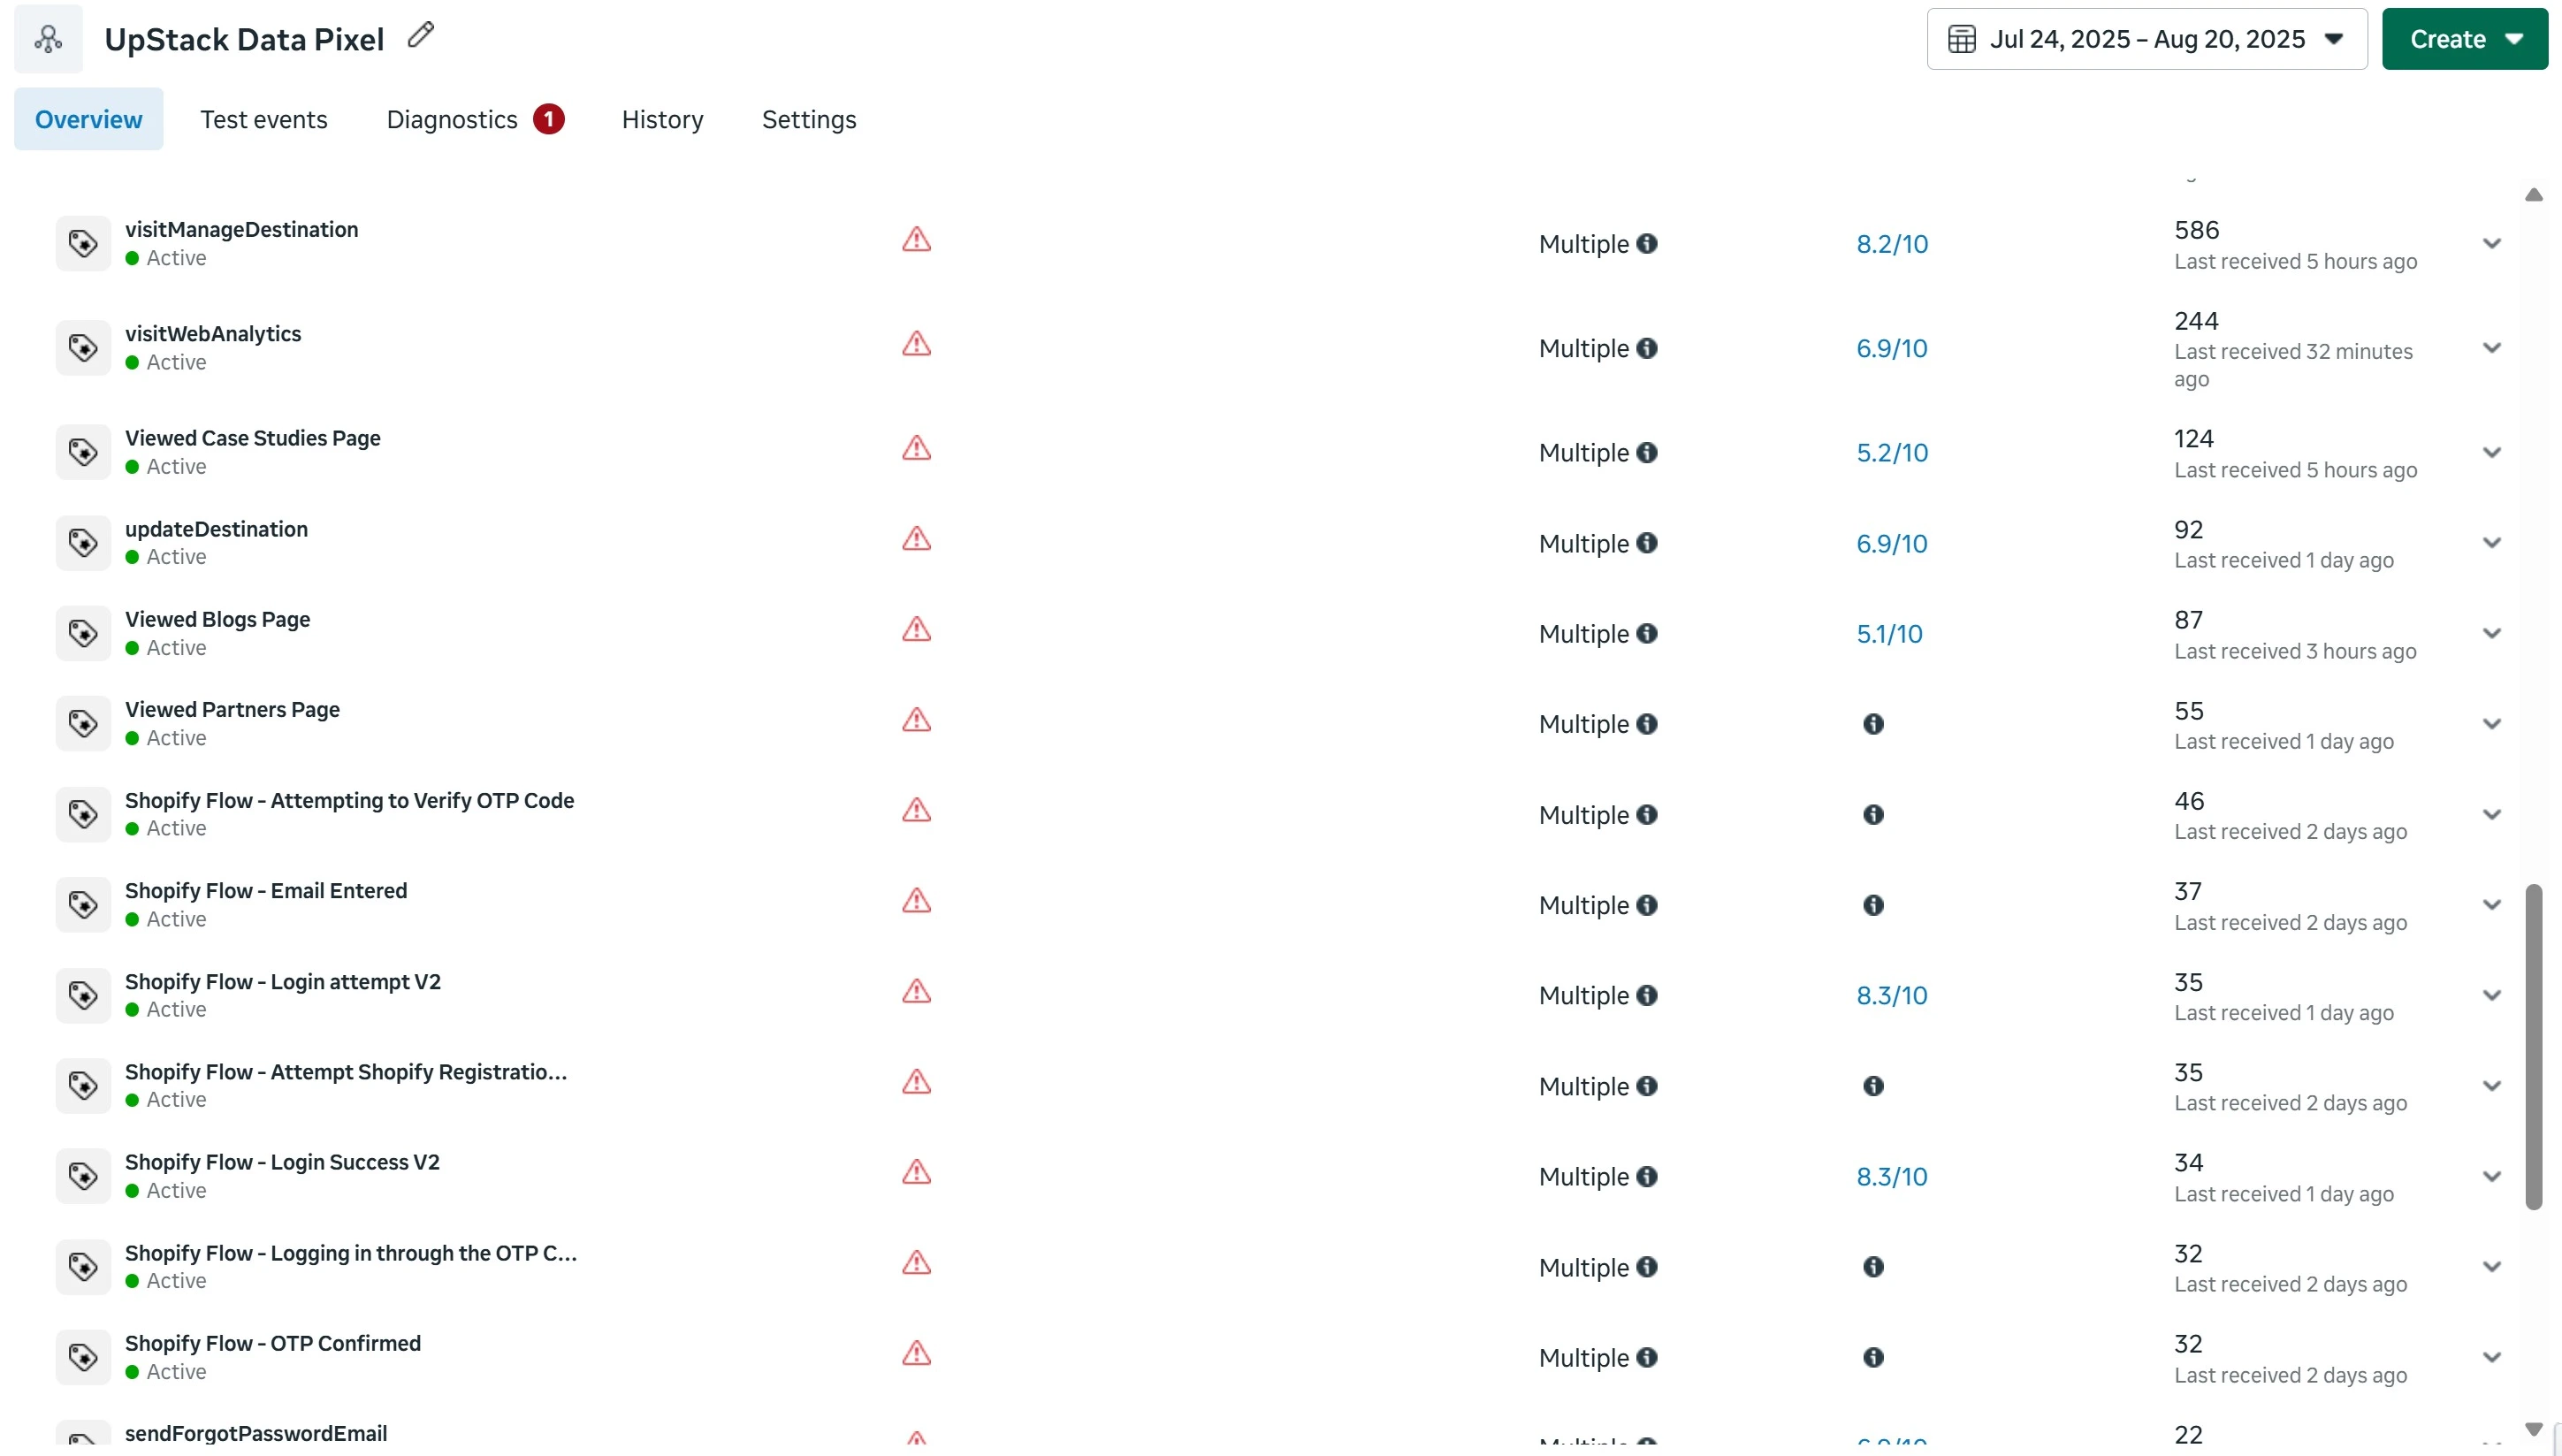
Normal warnings and notifications
Red triangle ⚠️ warnings in Meta Events Manager You may see new warnings appear next to your events in Meta Events Manager during the first few days. These are normal and require no action. They appear because:- Meta detects the change in data source from the Shopify sales channel to Upstack Data
- Meta recognizes a different set of parameter configurations
- Meta’s algorithm is adjusting to the new data format
What to do: Monitor your events to confirm they’re firing correctly, but avoid making changes based solely on these warnings.
Need help?If you encounter any issues during setup or don’t see expected improvements after 10 days, contact our support team with your Meta Pixel ID and we’ll help diagnose the problem.