Overview
If you’ve seen warnings like “My Conversions API is not getting any events” or received an email that your Meta Pixel is unhealthy, it means your CAPI token needs to be refreshed. This guide walks you through updating your Meta CAPI token in Upstack Data so events flow correctly, attribution stays accurate, and your pixel remains healthy.
Prerequisites
Before you start, you need:- An active Upstack Data account with a Meta destination already configured
- A new CAPI token generated from Meta Events Manager — see How to generate your CAPI token
- The token copied to your clipboard (it is shown only once when generated)
Configuration steps
Sign in to Upstack Data
Sign in to Upstack Data at app.upstackdata.com.In the Upstack dashboard, navigate to Event Destinations.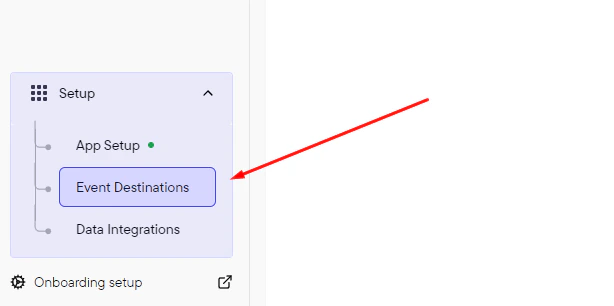
Open your Meta destination
In the Event Destinations list, click your Meta destination to edit it.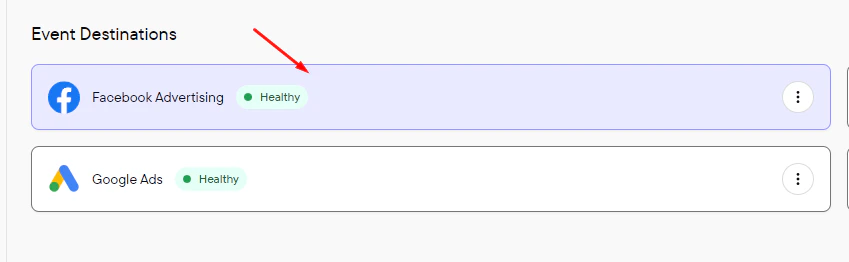
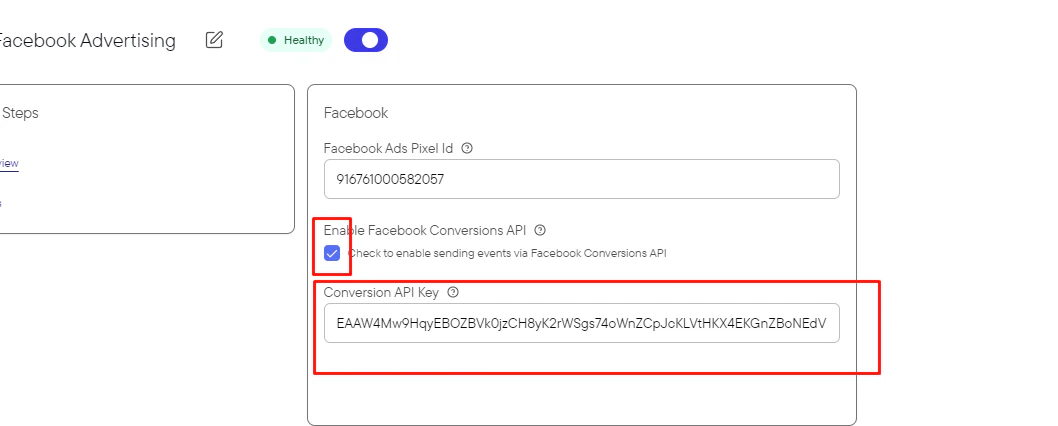
The CAPI token starts with
EAA and is approximately 190 characters long. Leave the Pixel ID unchanged (15–16 digit number, no prefix).Need help finding these?
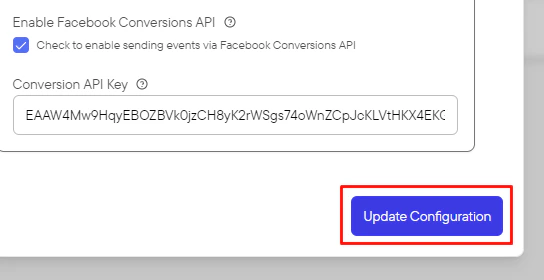
Verify the destination is healthy
In the Upstack dashboard, the Meta destination card should display Healthy with a green status indicator within 5 minutes.If the status still shows Unhealthy:
- Confirm the new CAPI token starts with
EAAand was pasted in full (no truncation or whitespace). - Confirm the user who generated the token has admin access to the Meta Business Manager that owns the pixel.
- See Why is my Meta EMQ panel showing zeros? for token-permission troubleshooting.