What is a Pinterest Pixel Tag ID?
A Pinterest Pixel Tag ID is a unique identifier assigned to your Pinterest Pixel, which tracks user actions (like page views, add-to-cart, or purchases) on your website. It’s what you use to connect your site activity with Pinterest Ads for measurement and optimization. The ID is a 13-digit number (for example,
2613000000000).Prerequisites
Before you start, you need:- Admin access to your Pinterest Business account
- The ability to install code on your website (or admin access to a supported integration partner such as Shopify or WooCommerce)
Steps to Create a New Pixel Tag ID
Sign in to Pinterest Business
Sign in to Pinterest Business.
Open Tag manager
In the top-left of the page, click the Menu icon (three horizontal lines).Under Manage business, select Conversions.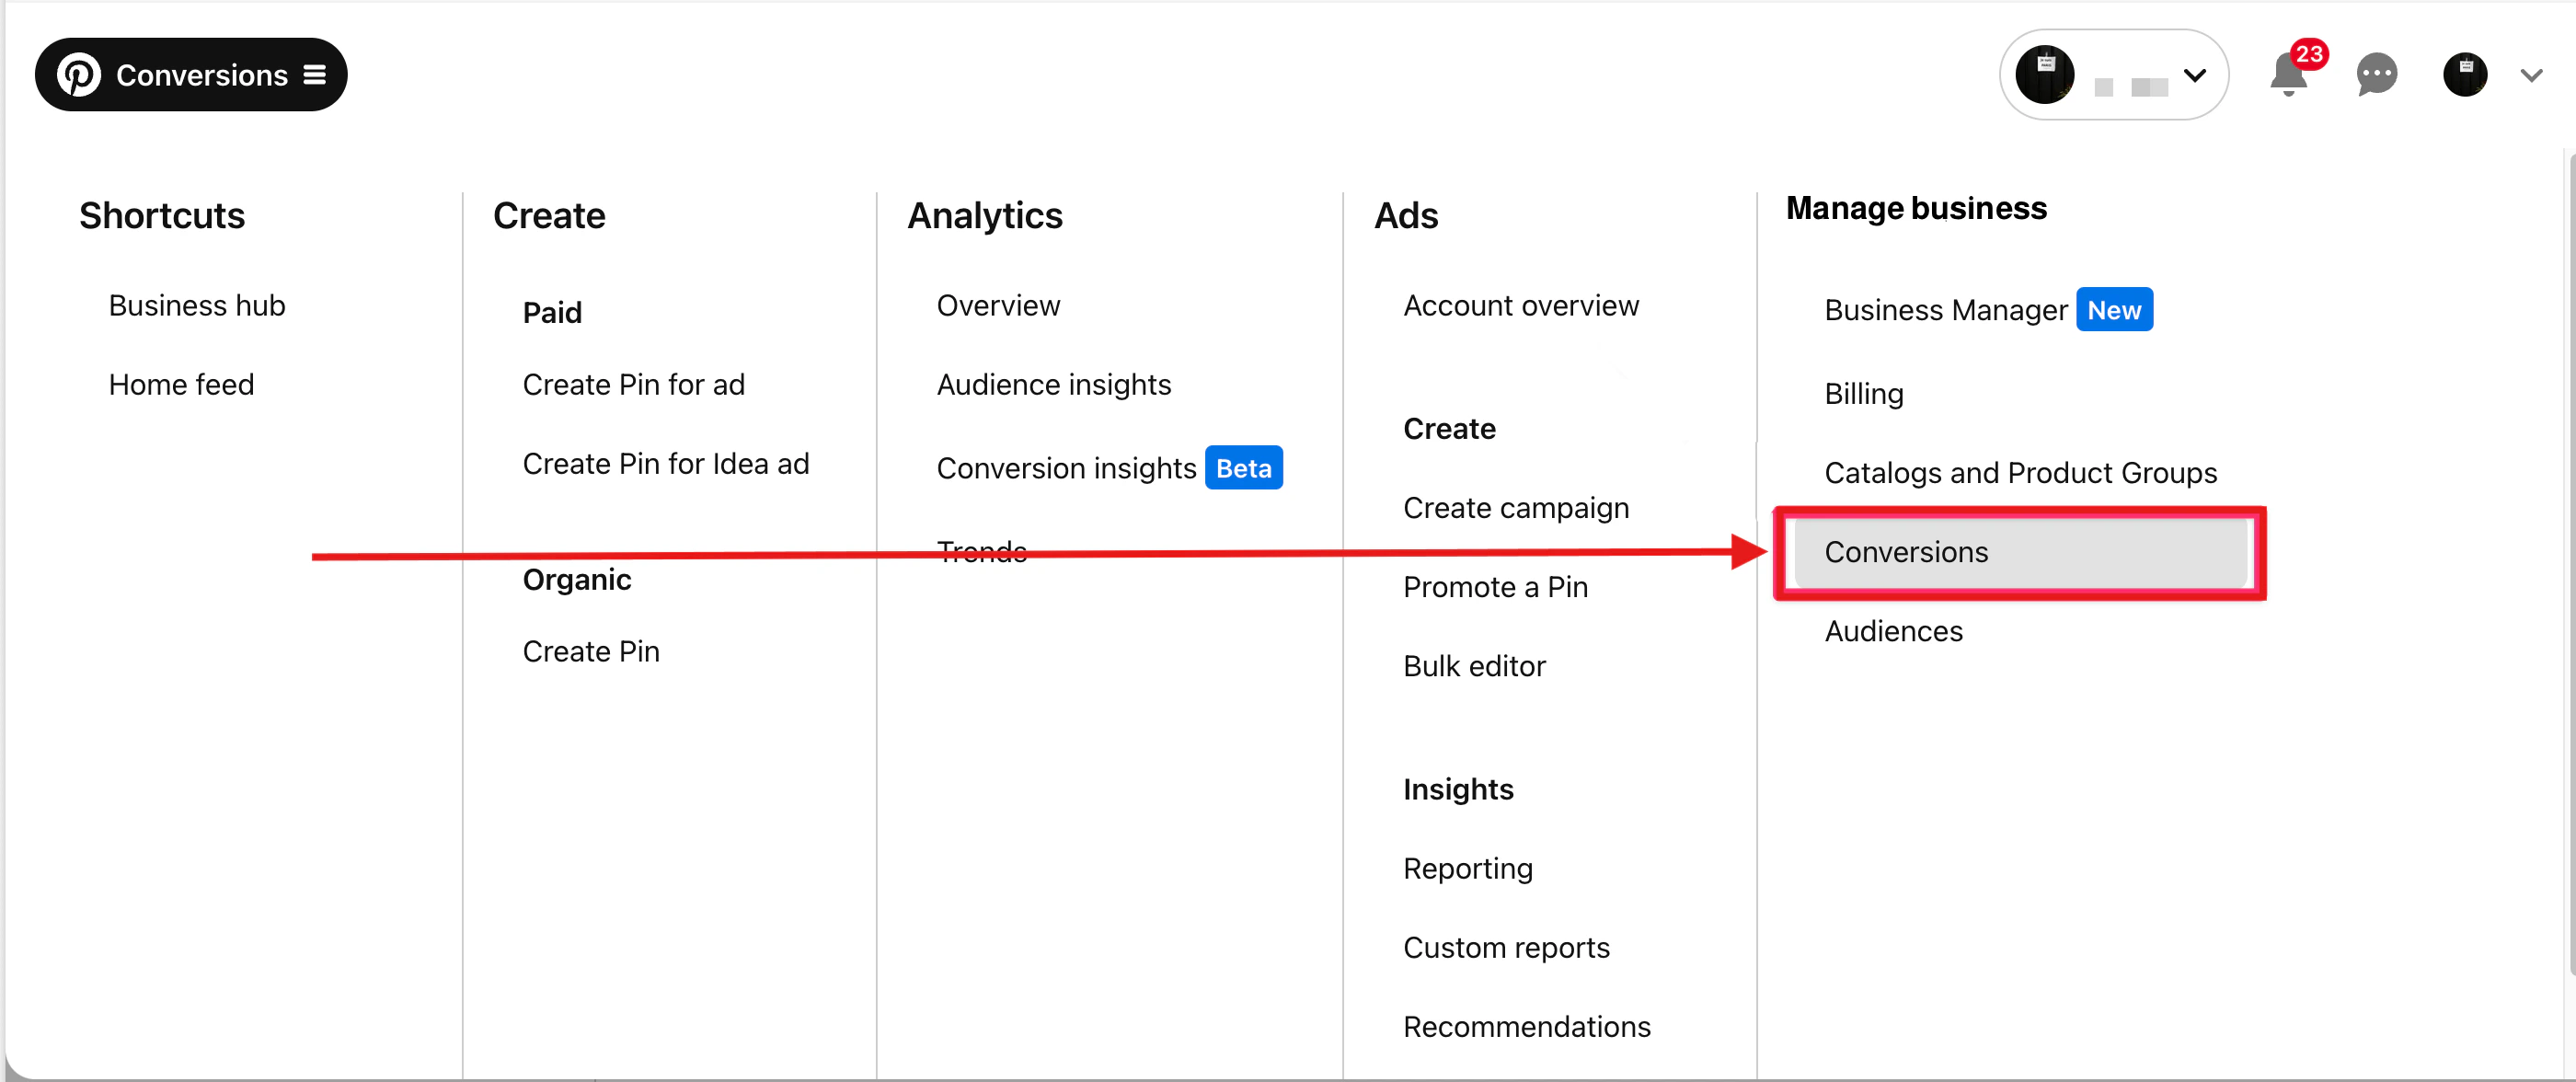

Start the tag setup
In the Pinterest Tag section, click Get Started if this is your first tag, or click Add code to create an additional tag.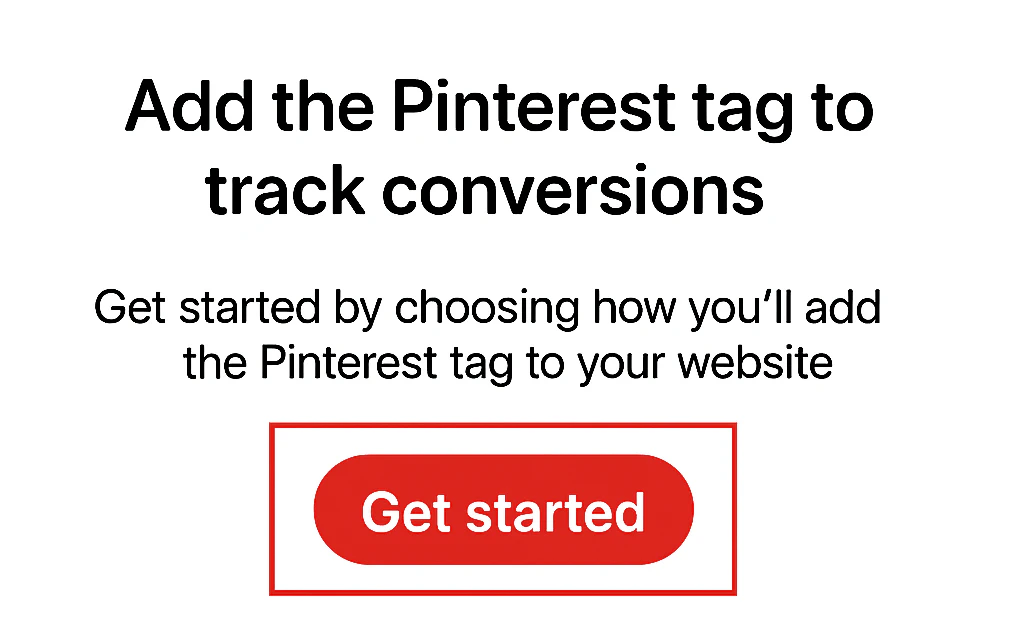

- Integration partner (for example, Shopify, WooCommerce)
- Email instructions to a developer
- Manual setup (for direct code installation)
Choose Manual Setup (if applicable)
- Click Skip in the bottom-right of the page to proceed with manual setup.
- Pinterest will generate a base tag code snippet for you.
Copy the Pinterest Pixel Tag ID
Once created, your Pinterest tag will appear in Tag manager with a 13-digit Pixel Tag ID (for example,
2613000000000).Copy the Pixel Tag ID — this is what you’ll enter when configuring the Pinterest destination in your Upstack dashboard.Install the tag on your website
Paste the base tag code into the
<head> section of every page on your website.Add event codes to track specific actions (for example, AddToCart, Signup, Checkout).Verify the installation
Use the Pinterest Tag Helper Chrome Extension to confirm your tag is firing correctly on your website.You can also confirm event delivery in Pinterest Business → Conversions → Pinterest tag, where new events typically appear within a few minutes.